How to set up your email account?
Setting up your email account
- Introduction
- Default settings
- BAT
- Unsubscribe page
- Google and social networks
- Create a sender
1. Introduction
The default settings page refers to phase 1 of the design of your newsletter campaign. You can change the default settings to have all the necessary information when sending your campaign.

2. Default settings
Here you set the sender's name on all your campaigns, for example: "Alice of communication".

2.2 Default reply address
Here you set the email to which the response of your contact will be sent for all your campaigns, e.g. "alice@structure.com".
You can leave [DEFAULT_REPLY_TO] if you do not wish to receive the answer from your interlocutors.

3. Test list
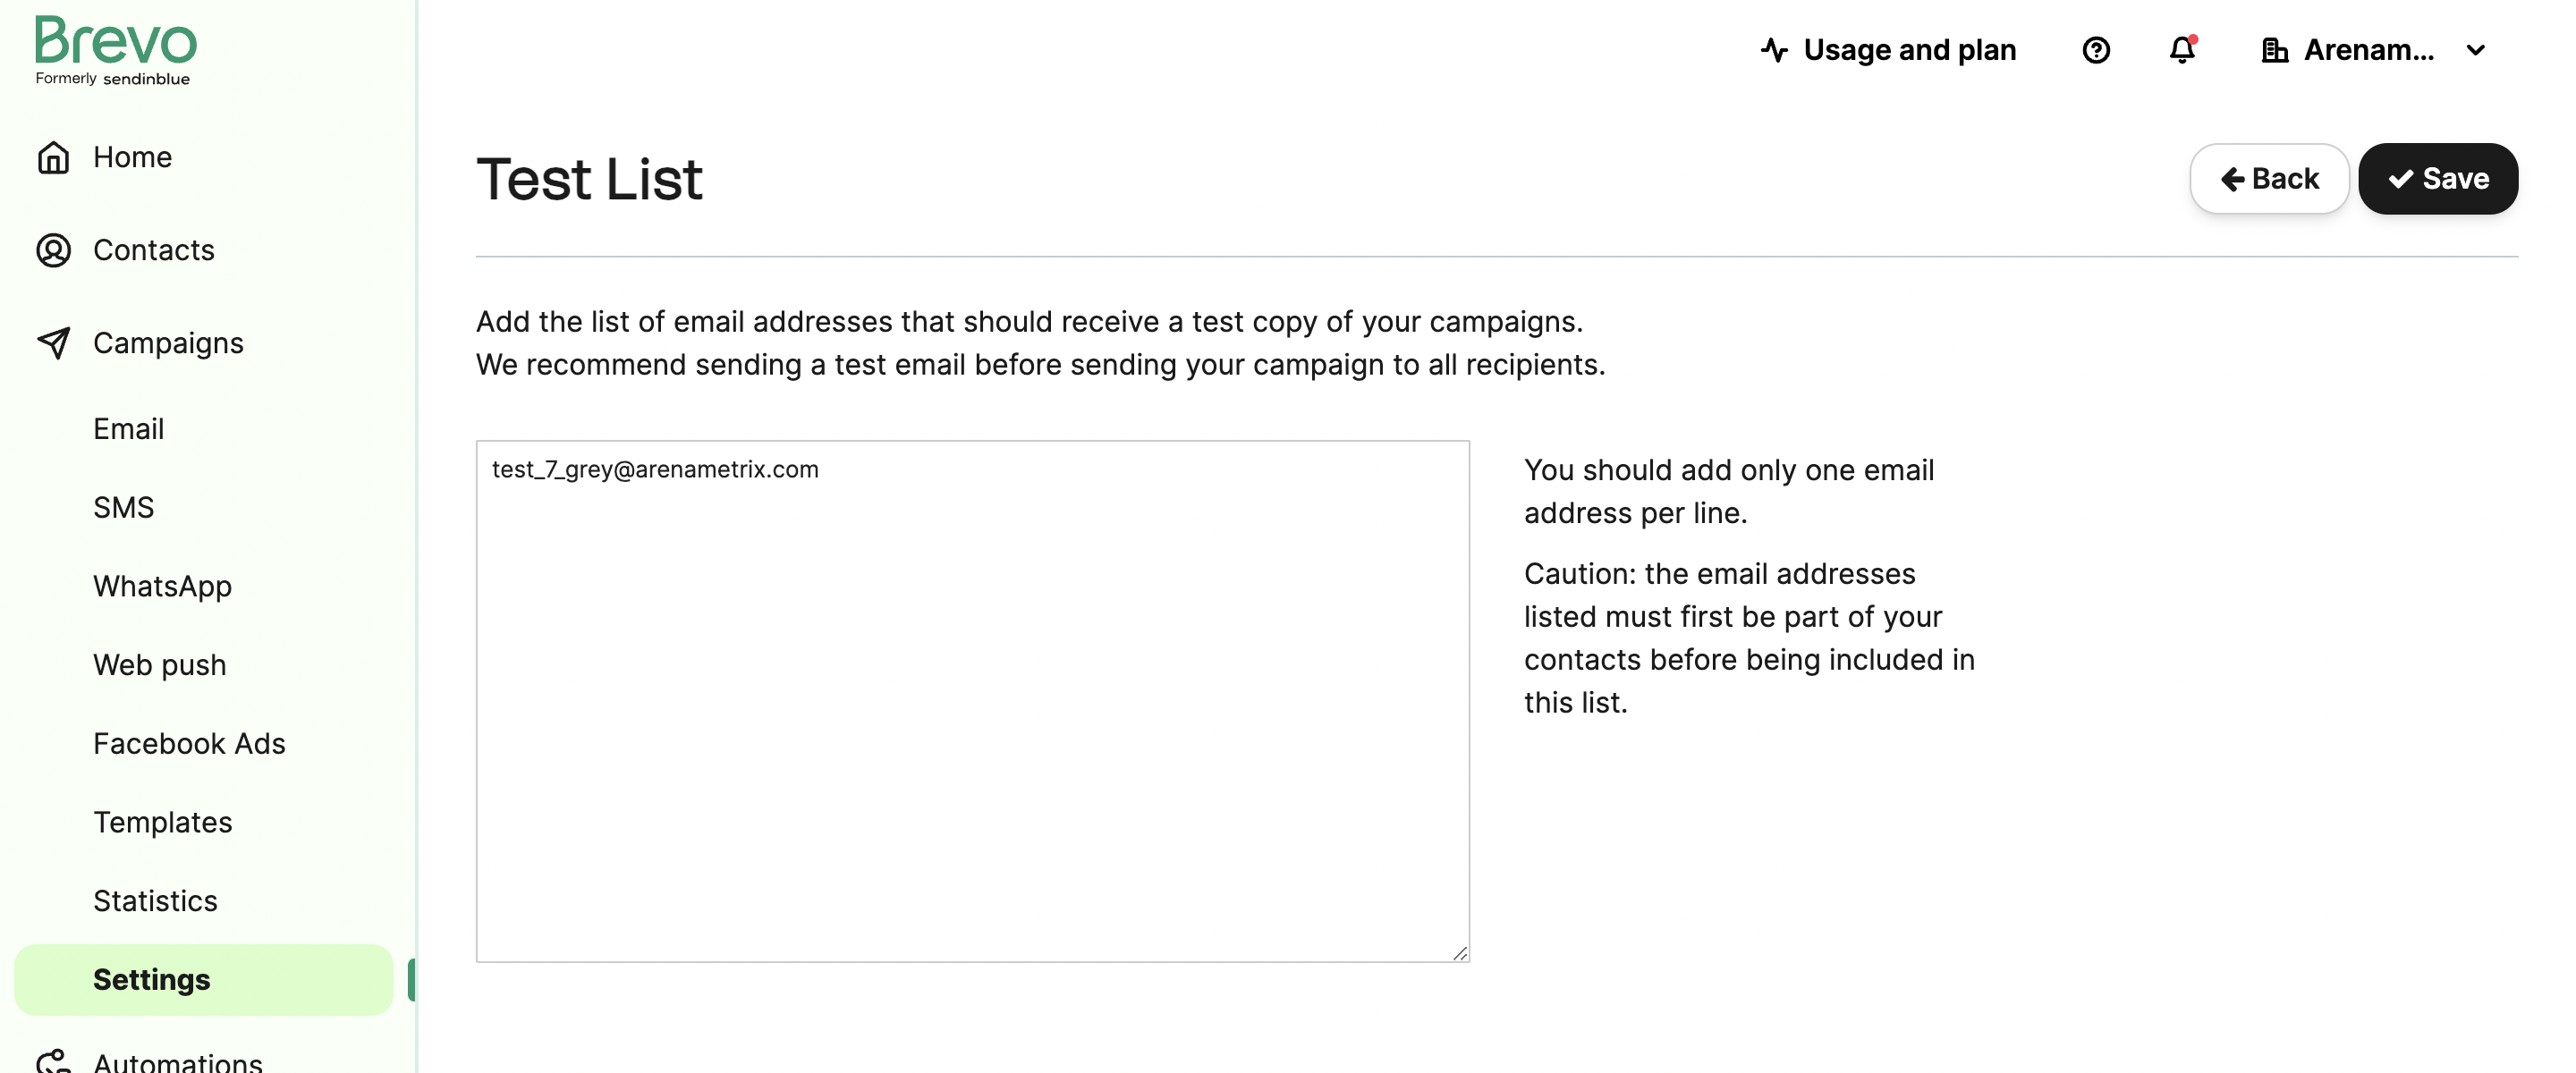
The Test List feature allows you to send test emails during the creation of your campaign. You can send test emails to your BAT List contacts, they will be able to preview and validate the design and content of your email before the actual sending. Use this feature to check your emails, and make changes until you like everything.

In the field, enter the email addresses you wish to use to test your emails. Be sure to write only one email address per line (press "Enter" each time you write an address to move to the next line).
IMPORTANT: The email addresses you add to your test list must already be part of your Arenametrix Routing contacts.
When you have finished entering the addresses, click Save.
3.2 Using the test list
The test is done in step 2 of the creation of your campaign . Once you have finished designing your email, go to the bottom of the page to send test emails.

You can either send a test email to your own address, manually select the addresses (the addresses must already be part of your Arenametrix Routing contacts), or send a test to your entire test List.

After sending your test e-mail, you will receive a Test Report e-mail with your test results. Use this feature to check your email, and make changes until you are happy with everything.
4. Customizing the unsubscribe page
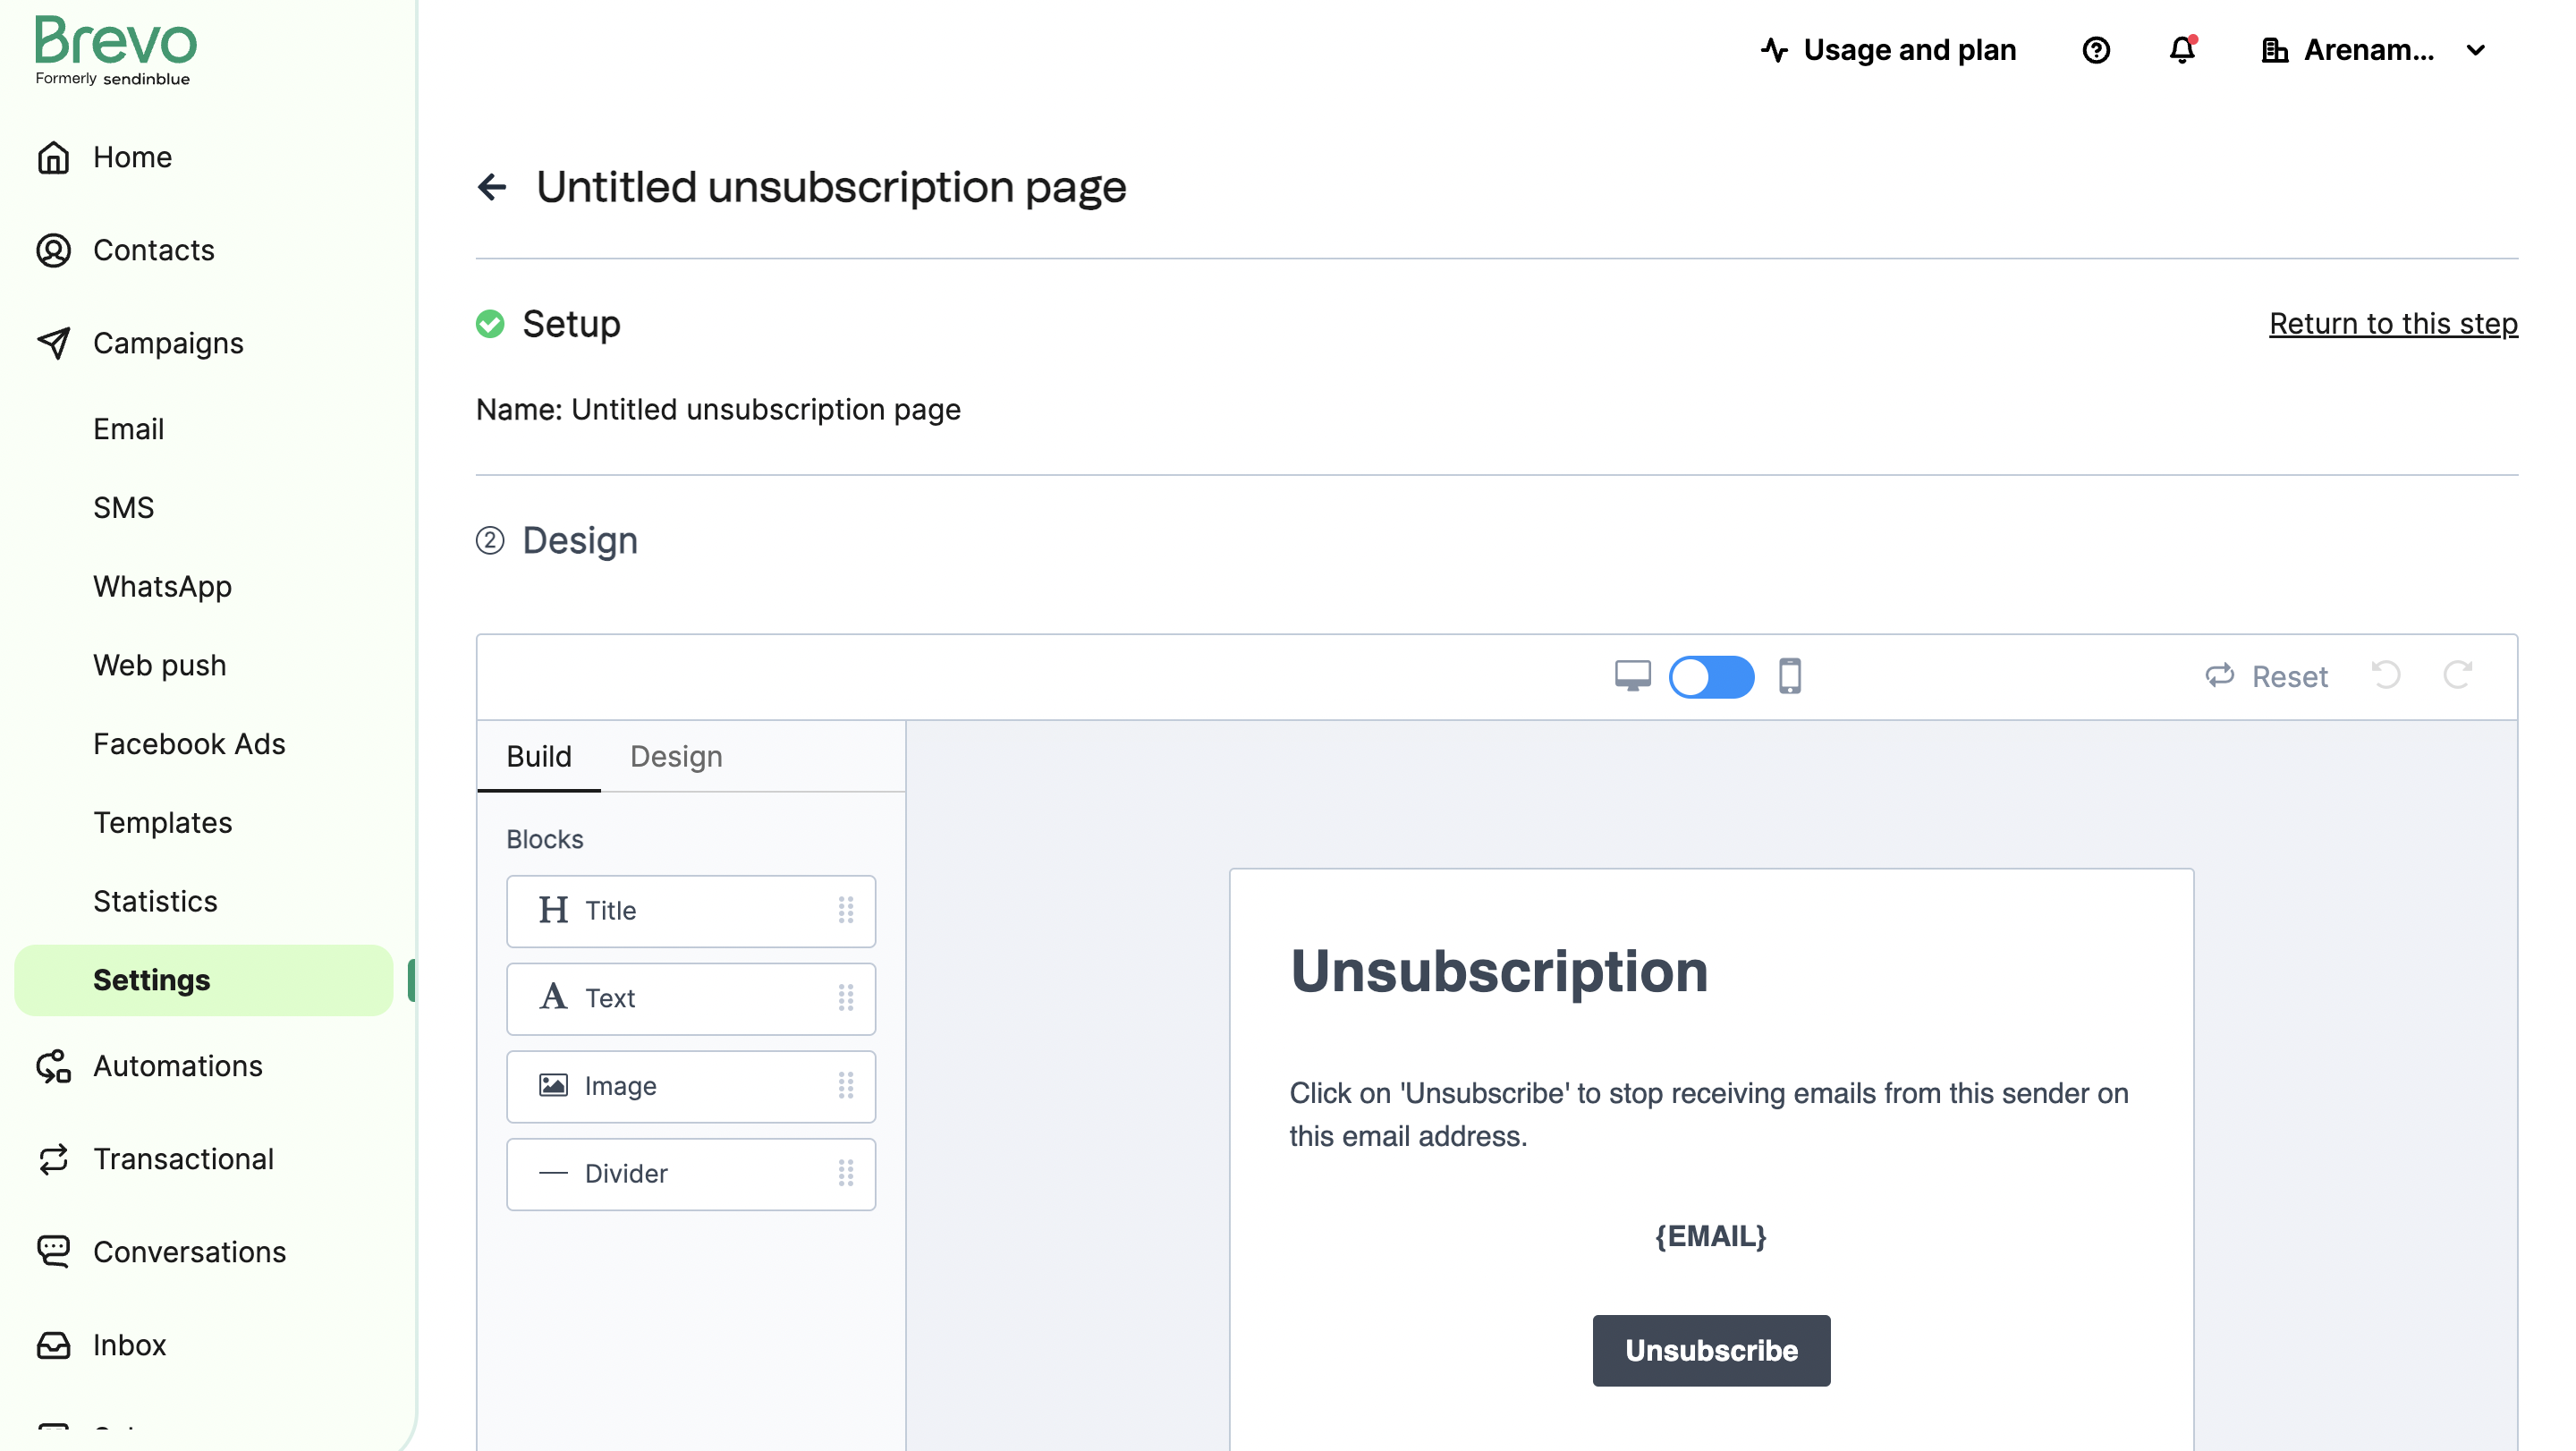
The unsubscribe page allows your users to unsubscribe from your Newsletters. If you use your own link, users who wish to unsubscribe from your newsletters will not be automatically blacklisted from your mailing list, so you must use the unsubscribe links provided by Arenametrix Routing. Arenametrix Routing offers you an editor that allows you to create and customize this page as you wish. You can then modify the default page and the pages you have already created. To create a new form template, click on the "Create a new unsubscription form" button. You then enter the unsubscribe page editor. You can play with all the parameters (color, font and background image) and change the different texts that will appear:
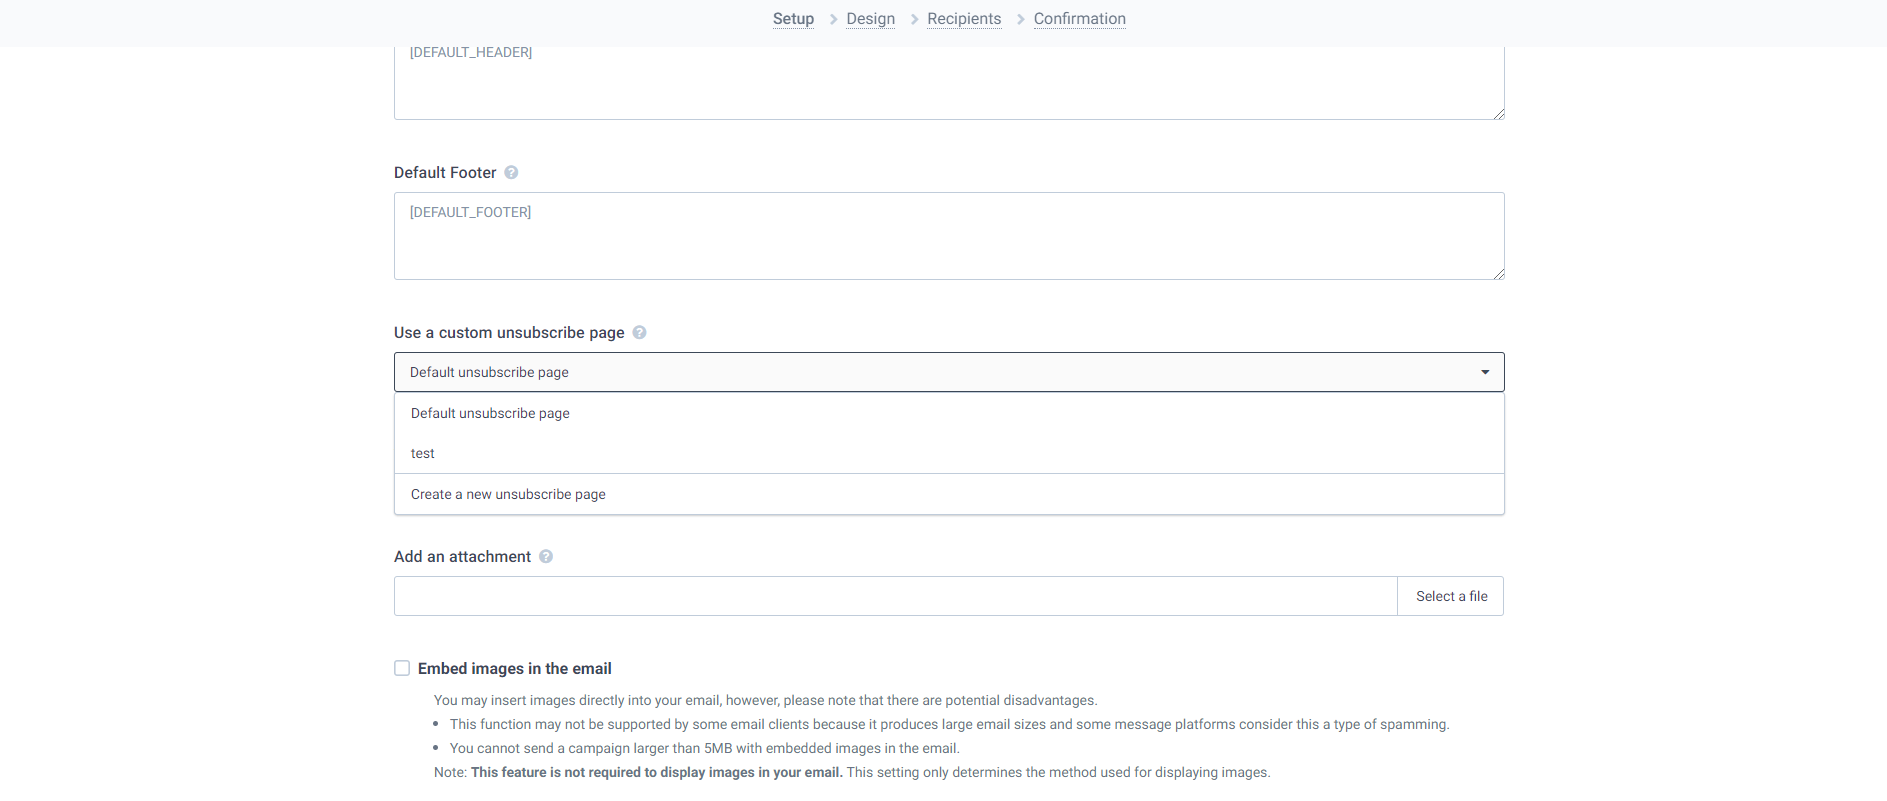
You can create as many different pages as you want. You will choose which one to use in step 1 of the creation of your campaign, by clicking on the "Advanced Features" button, then choosing the page in the drop-down menu of the "Unsubscribe Page" field:

Once you have chosen the unsubscribe page, send yourself a test email to make sure the link works.
5. Google and social networks
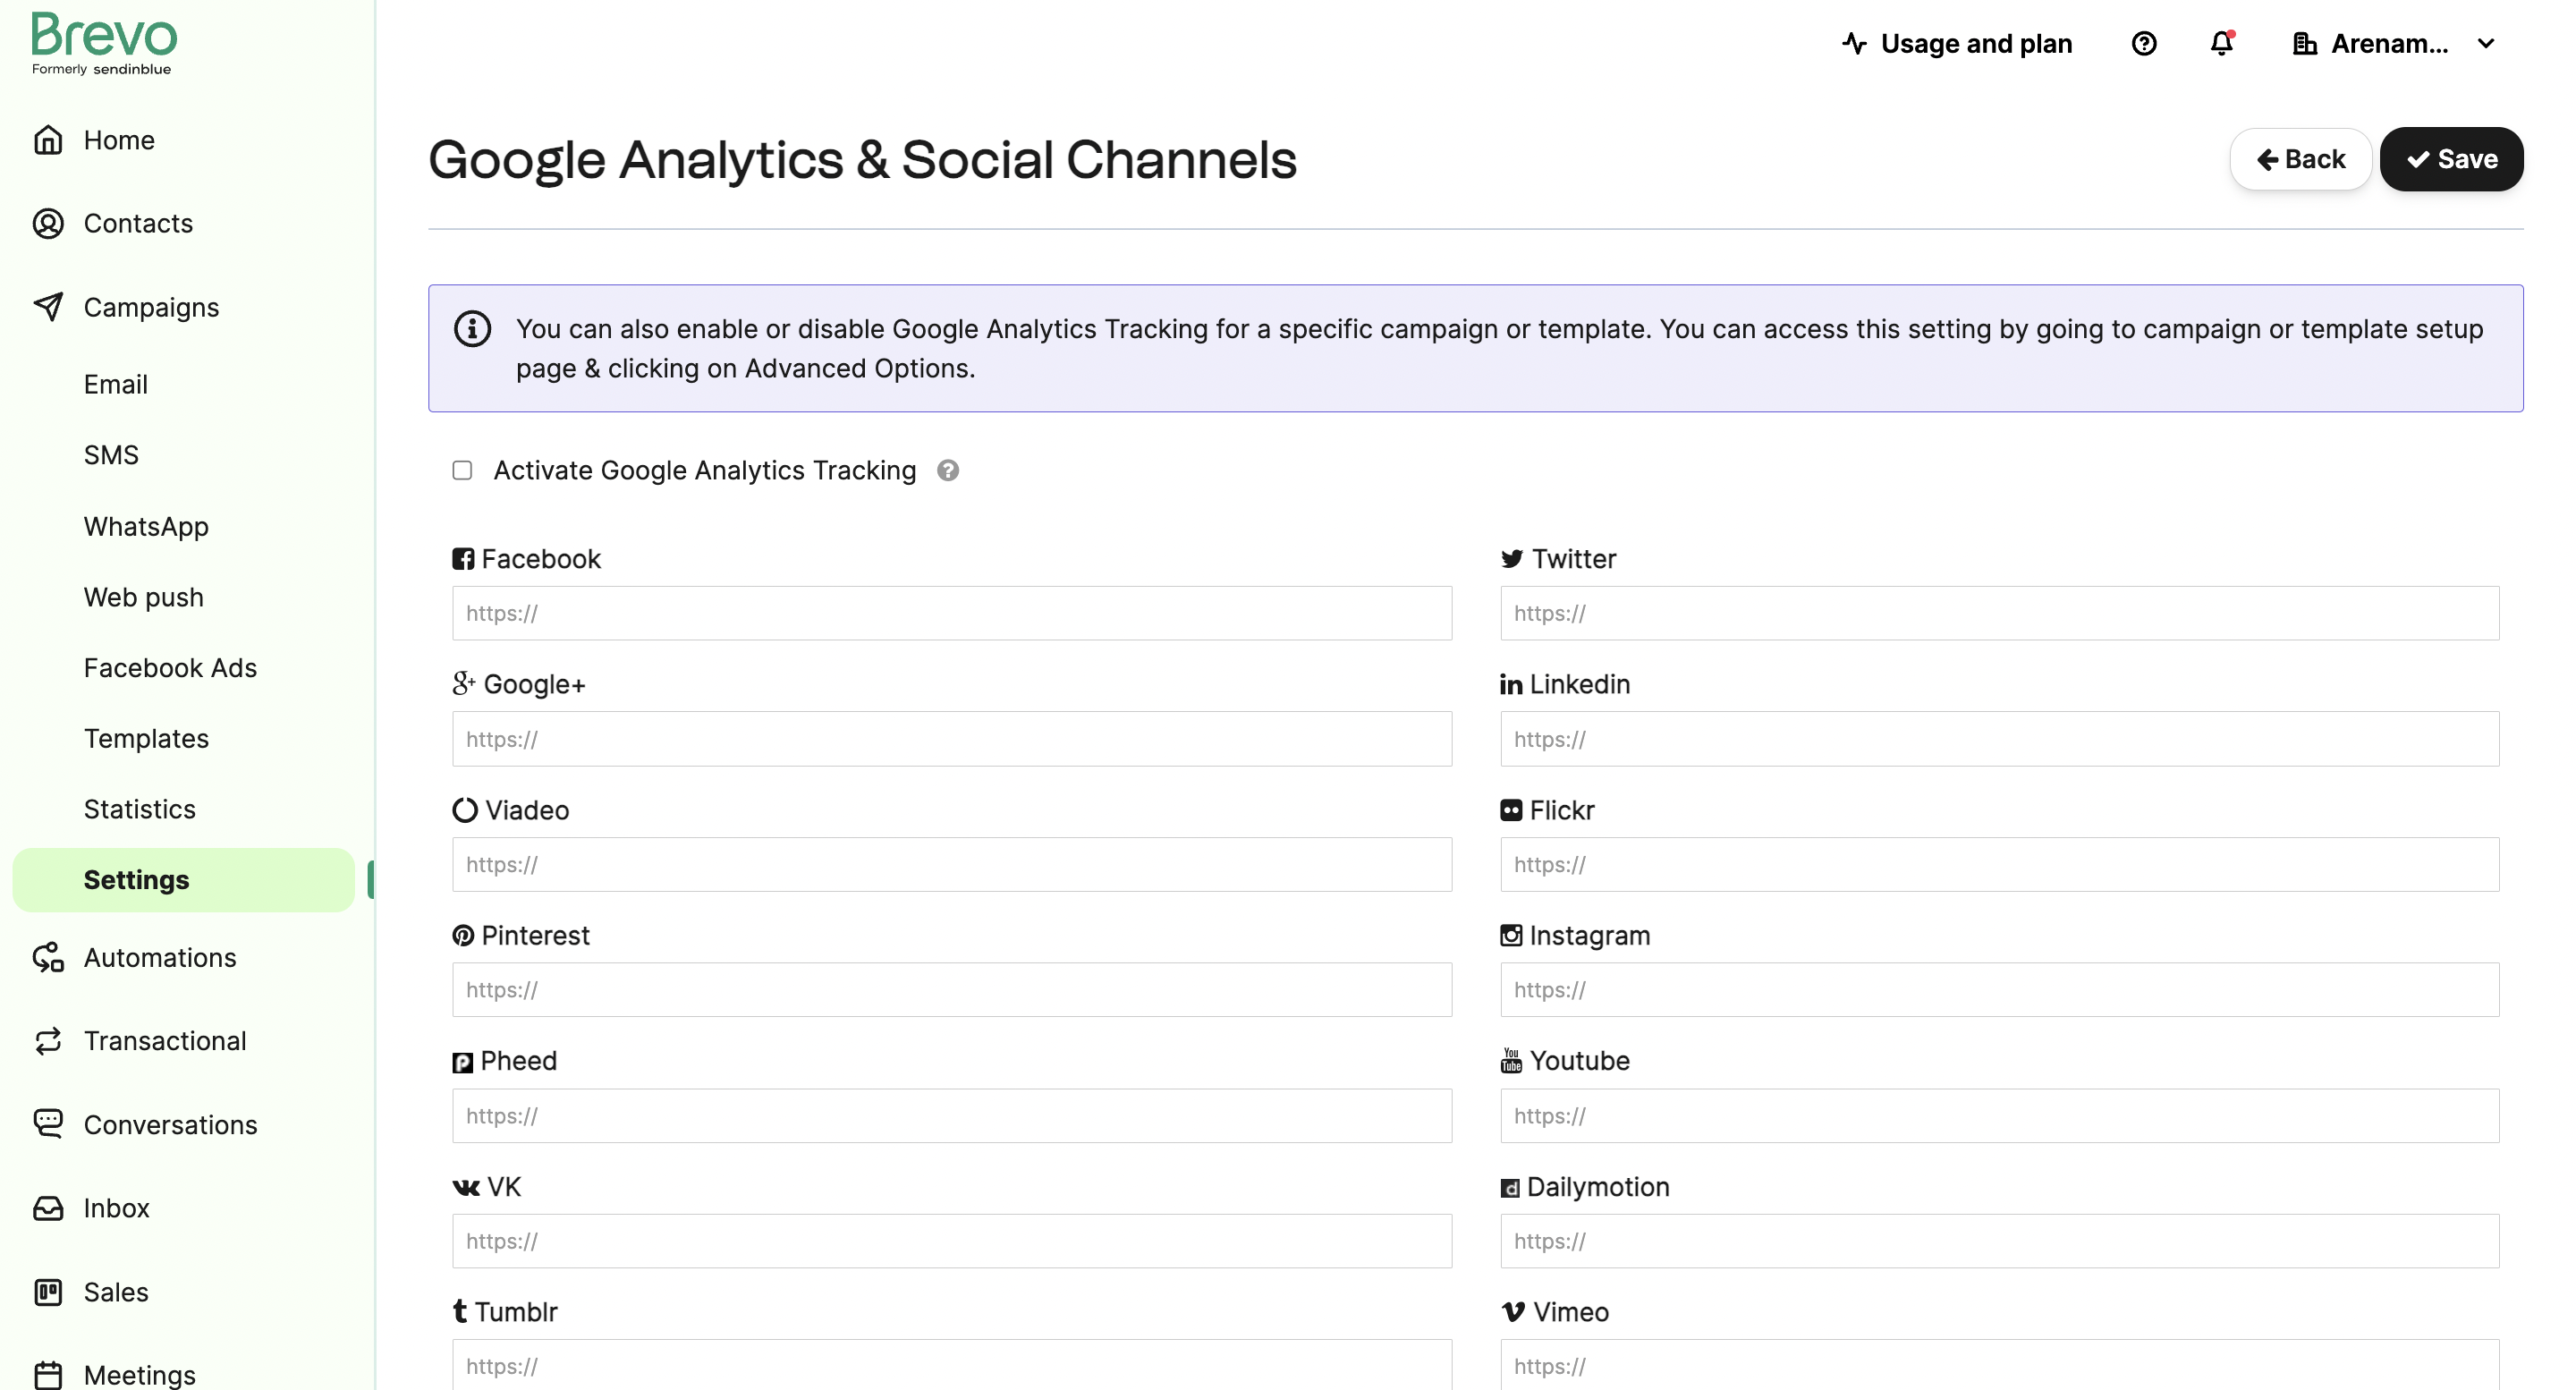
Configure your default social networks to use the social networks block when creating your campaign.

6. Create a sender
To add a new sender, click on "Add a sender".

- The sender's name: this is the name that your subscribers will see on their mailbox (ex: contact)
- The sender email: the email that your contacts will see in their inbox (ex: contact@yourcompagny.fr
Your sender is created.