This article outlines all the advantages of the Drag & Drop editor, designed to offer you more options and features.
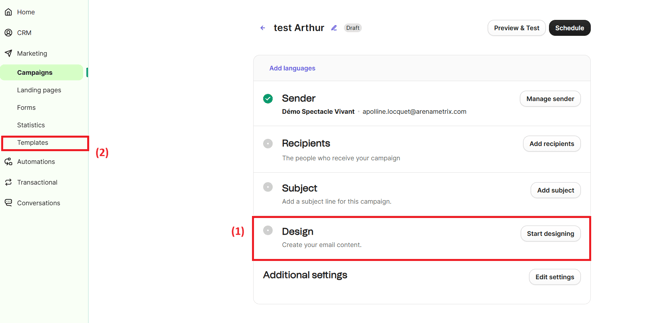
The drag & drop editor is available in the Design step (1) when creating a new campaign (click Start designing) or in the Templates tab (2) if you want to edit an existing template.
1. The left menu
The left menu includes predefined blocks such as text and images, as well as your saved blocks and default template settings. It is divided into two tabs: Content and Style.
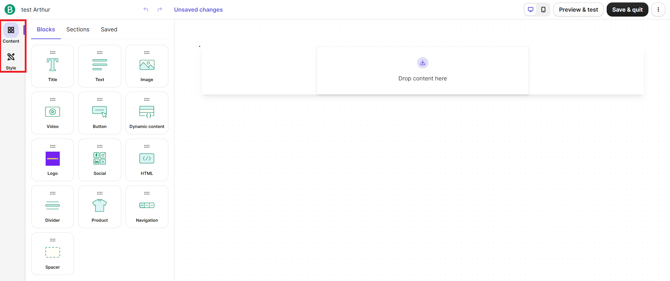
1. The Content tab
To design your email, start by dragging layout and content blocks into your template. Settings will appear in the left menu when you select a layout block.
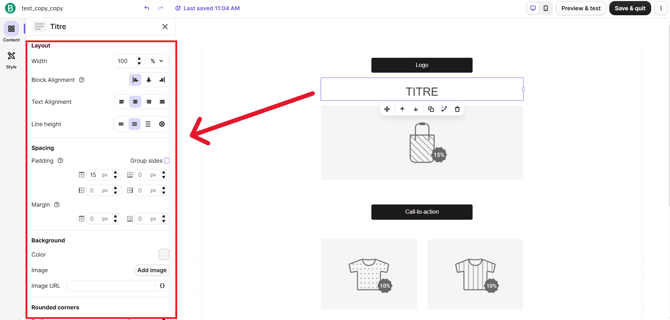
By clicking on a block, its layout settings will appear on the left. From this menu, you can:
-
modify the column layout (up to five columns per layout block)
-
define the background type and color, and even add a background image
-
adjust the inner spacing (padding) to control the spacing around the block
2. Layout actions
You can move a layout block up or down. To do this, click and hold the block, then drag it to the desired position. A blue line indicates where the block will be placed.
When a layout block is selected, you can access several actions at the bottom left of the block.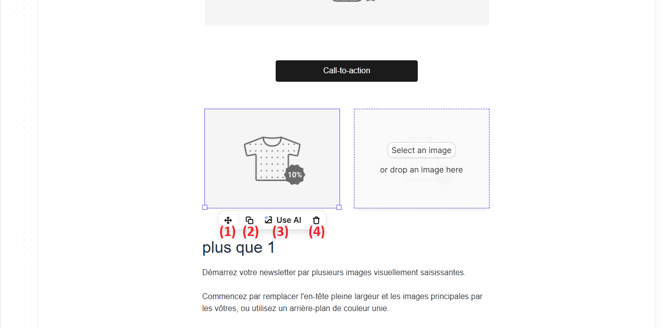
-
Move: allows you to reposition the block within your template (just like dragging it with your mouse).
-
Duplicate: once your block is set up, you can duplicate it in one click. This helps you save time when designing your campaign or template.
-
Use AI: this option allows you to use artificial intelligence to automatically generate or enhance the content (text or visuals) of your block.
-
Delete: allows you to permanently remove the block from your template.
3. The Style tab
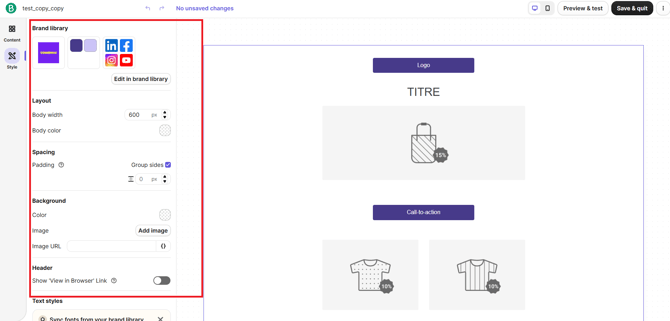
The Style section allows you to define styles applied across the entire template.
The Brand Library module allows you to automatically generate a template aligned with your brand identity (for example, based on your website design).
You can also adjust the overall structure by modifying the body width and its color, manage internal spacing (margins) to improve content readability, and customize the background by adding a color or an image (uploaded or via URL). Finally, you can display a “View in browser” link in the header, which helps improve your email’s accessibility.
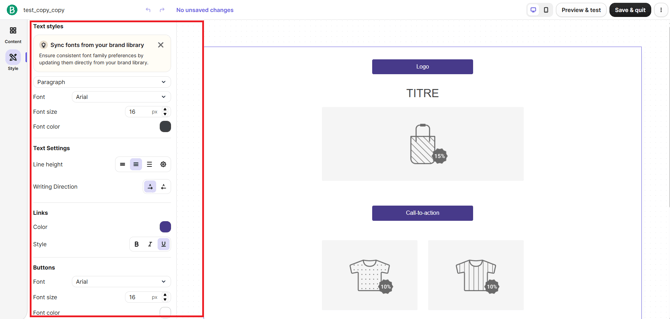
You can define the font, size, and color for paragraph text, adjust text settings such as line spacing or alignment, and customize link styles (color and appearance). You can also configure button styles to ensure consistency with your brand identity.
2. Save blocks for reuse in your campaigns
Save time by storing sections of a campaign that you want to reuse in other campaigns. For example, you can save your headers and footers instead of recreating them each time.
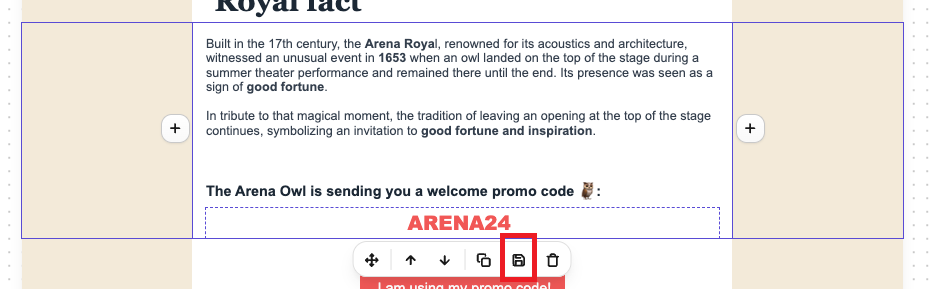
You can save an entire layout block or a specific content block within a layout.
-
Select the block you want to save.
-
Click the Save icon (floppy disk).
-
Add a name, then click Save block.
Tip: Use a clear name to easily find your block later, such as “Header” or “Footer”.
Your saved block will appear in the Saved blocks section in the left menu and will be automatically available in your other campaigns. You can save as many blocks as you need.

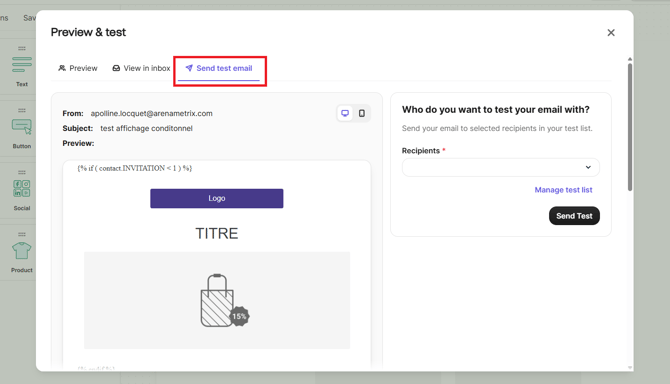
3. Preview and send a test email
Once your campaign is created, you will likely want to see how it appears to your recipients. To adjust the mobile design of your email campaign, click the smartphone icon in the top menu.
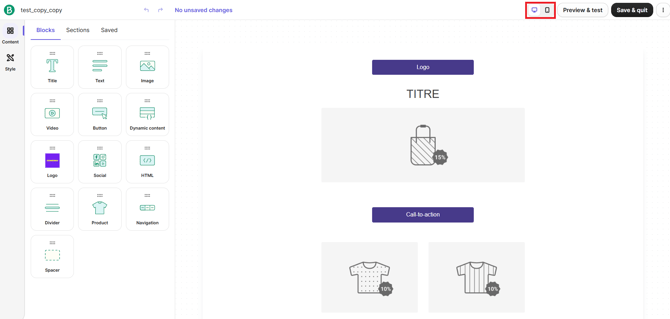
As with the desktop view:
-
you can add and move layout and content blocks
-
block actions, such as customization and saving, are also available in mobile view
In addition, by clicking Preview and test at the top right of the page, you can select Send test email. Simply enter the recipients’ email addresses (previously added to your Brevo test list), then click Send test.